Are you looking forward to installing a new deck but the whole installation process scares you?

Unbelievable DIY composite decking out-perform wood deck
Installation is a critical stage in the whole new deck experience. A shoddy job may lead to injuries and may compromise the durability of your deck.
At NewTechWood, we take pride in developing reliable, attractive, and innovative composite materials. Our decks come in a range of colors to match your tastes and preferences. You can always count on us for quality and performance.
Over the years, we have developed systems to ensure that the installation process is easy and takes the shortest time possible. With our new system, you will no longer need to worry about the gaps between the decks, tightening jacks, or predrilled holes.
Our patented Deck-A-Floor Pro system allows you to assemble the decking parts all by yourself. You don’t have to hire and pay someone for the installation. Instead, buy your friends some drinks and enjoy them on your newly-installed deck. With NewTechWood decking, the experiences are always priceless.
All the Deck-A-Floor Pro parts and boards are packed in a single box for easy transportation.
What’s in the Deck-A-Floor Pro Box?
Each of these boxes contains the following:
1. 5 x UltraShield Deck Boards
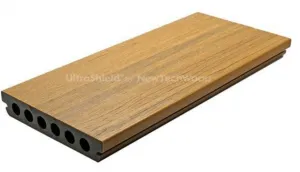
Lot of composite deck color available to choose
NewTechWood’s UltraShield is made from advanced capped composite deck material and a strong, durable shield that will ensure your deck serves you for a very long time to come.
Our decks are insect-resistant, weather-resistant, mold-resistant, and come in different beautiful colors. Moreover, you don’t have to spend a lot of time in maintenance – stains are easy to wipe off and no painting is required. All thanks to the UltraShield technology.
2. 6 x Pro Clips
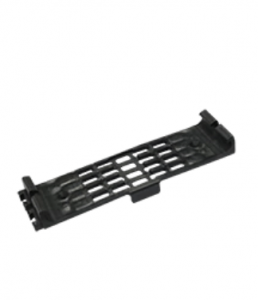
These clips are first fixed together before the whole installation process. They are used to properly align the deck.
When installing the clips, push their edging bars against the joists. Once you are confident that the alignment is okay, fasten it with a screw. Each clip will have two holes at each end. For excellent results, ensure that the clips have the same spacing between them.
3. 10 x Smart Locking Inserts
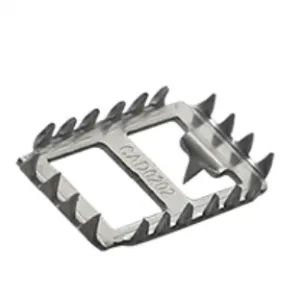
These inserts are used to keep the deck board in position and will prevent any unnecessary movements of the boards during installation. The locking inserts are fixed into the slots on the pro clips. Each insert can only be placed on one deck board. Always fix it in the middle clip.
We all know that our decks expand and contract during cold and hot seasons and this may lead to cracking. Even though the locking inserts firmly hold the boards, they also allow them to expand and contract depending on the weather. You don’t have to worry about cracking with NewTechWood Deck-A-Floor Pro.
4. 1 x Spacer

The spacing between the boards should be uniform, right?
The uniformity spacer in the box will ensure that the spacing is only 1mm thick. The tiny spacing will help prevent tannins. Tannins usually form when organic materials get stuck in between the gaps of the boards and result in water pooling under the deck.
5. Screws
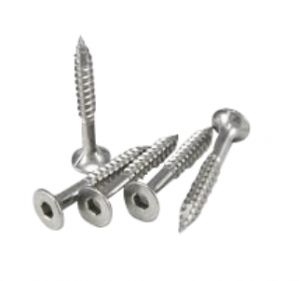
You will also find stainless screws in the box. Whatever the season, our screws never corrode. This means that your deck will look new and shiny all through the years.
For quick installation, you may consider using a nail gun.
An installation guide is also available in the box. It will take you through the whole process. But here’s a recap:
Install Your Deck-A-Floor Pro 3 Simple Steps
Once you have opened the box and confirmed that everything is available, here are steps to follow:
Step 1: Carefully line up one of the clips and slowly fix your pro clips onto the joist.

Step 2: Insert the smart locking clips on the slots at the center of each pro clip.

Step 3: Lay down the UltraShield decking boards and push them down
And just like that, you’ve got your new deck. No hassle, no stress.
There’s nothing as satisfying as a home DIY project.


