In this article, we’ll guide you through the steps of how to install composite siding using NewTechWood’s Ultrashield wall siding, including preparation tips and the parts you’ll be working with. We’ll also cover the many benefits of our composite siding product, the customization options available and its suitability for smart homes.
WHY NEWTECHWOOD COMPOSITE SIDING?
NewTechWood’s UltraShield’s wall siding is a durable, attractive and affordable choice for anyone wanting to update their home’s exterior. It’s a perfect solution for outside walls and soffits — and it can even be used for exterior ceilings. We believe choosing an exterior wood cladding installation of our composite siding is superior for several reasons:
1. The Superior Protection Provided by Our UltraShield Technology
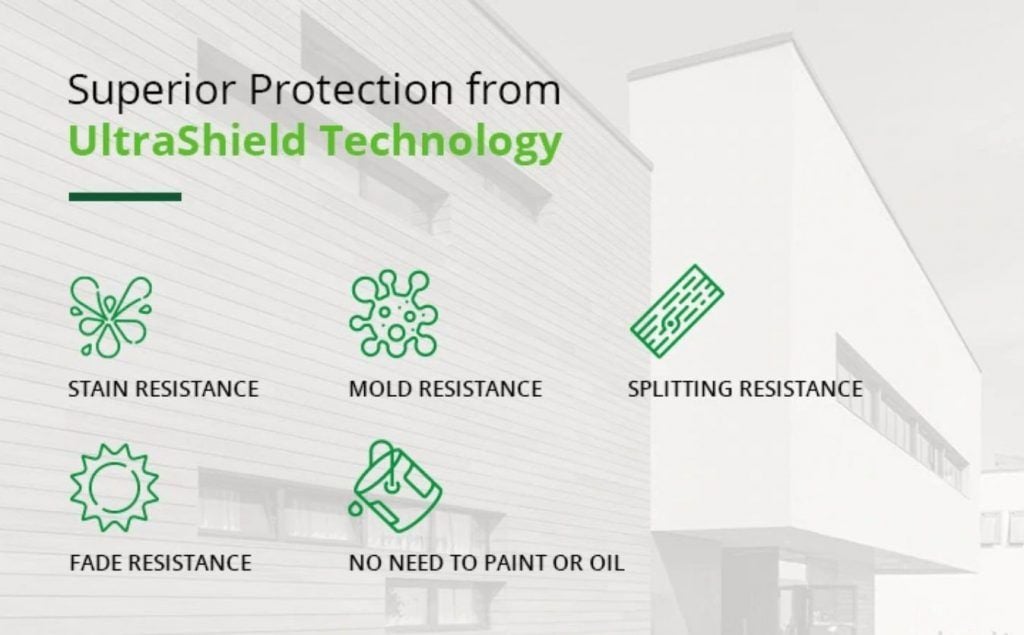
One of the greatest benefits of NewTechWood’s siding products is its UltraShield technology. This new feature has truly revolutionized the industry of composite boards with its multitude of benefits. NewTechWood pioneered this technology back in 2010 when we set out to develop a deck board that was more durable, fade-resistant, scratch-resistant, beautiful and reliable than any other composite decking product on the market.
After several years of engineering and field-testing, NewTechWood developed a product that was unrivaled in its beauty and performance — and continues to be to this day. The attractiveness, strength and durability of UltraShield products are due to their composition, which consists of two principal parts:
- Co-extruded cap: UltraShield’s cap provides an impenetrable protective layer that is resistant to scratching, staining and fading. And this cap does not just protect one side of the board — it encases all sides around the inner core. This thorough capping around the core provides it with ultra protection and allows it to withstand stains, fading, cracking, swelling, cupping, mold and mildew. When manufacturing the product, NewTechWood fuses the shield and core together simultaneously using high temperatures, meaning that no harmful chemicals or adhesives are released into the environment in the process.
- Composite core: NewTechWood manufactures the core using dense softwood and hardwood fibers and high-quality recycled materials, which give the boards exceptional durability and strength. What’s more, these products are all completely recyclable.
This revolutionary technology provides many advantages, including:
- Stain resistance: The siding cannot be stained by spills, even from coffee, wine or oil. You can easily clean up messes thanks to the protective shield since the boards never absorb any liquids. Because of this impenetrable shield, our UltraShield products are simple to clean and require little maintenance.
- Mold resistance: The shield also protects the core from mildew and mold, which can eat away at a wooden board.
- Splitting resistance: The cap’s impenetrable layer also prevents splitting from occurring on the surface, making the product longer lasting than uncapped composite siding products.
- Fade resistance: The shield’s unique formulation ensures that it keeps its colors for a much longer time than with regular composite siding. Our testing shows that only minor color changes will occur over the course of many years.
- No need to paint or oil: The formulation of the shield contains multichromatic colors, which means you’ll never need to do any sanding, painting or oiling.
2. Our Cladding Clips
Our AW-08 cladding clips have been designed to hold the siding boards perfectly. And they’re not just great at holding the boards together — they also keep them separate from the joists and allow for air to properly circulate between the joists and the cladding, which keeps the inside free of moisture and isolates water from the outside. These clips also make it possible for the boards to contract and expand and, simply by adding a screw to fix the clip to the board, they can also serve as locking clips, which allow you to control which direction the boards expand and contract.
3. Our Generous Warranty
Our UltraShield products are protected by a transferable 25-year limited warranty.
4. Our Eco-Friendly Manufacturing Methods
As a homeowner, it is essential to think about the impact that your home improvement project will have on the environment. We know that you care about environmental sustainability, so you’ll be happy to know that NewTechWood is committed to manufacturing its products using the greenest production methods possible. Our company has been green for a long time — and long before it was fashionable.
The three principal pillars of green living are the protection of the environment, economic development and social development. And this philosophy is reflected in the ways we develop and manufacture our products. Some examples of our green production methods include:
- Use of recycled materials: Our products are 95 percent recycled materials, which includes reclaimed wood fibers and plastic bottles. NewTechWood’s parent company has been committed to this practice for nearly 30 years. In fact, we save more than 12 million pounds of plastic every month from ending up in a landfill forever. And we don’t just recycle any material — we have complete control over the whole recycling process, which includes the proper selection, cleaning and sorting of the recycled materials, so we always know exactly what is in our products.

- Compliance with regulations: We receive annual audits from third-party organizations to ensure that we adhere to environmental, safety and health regulations and guidelines.
- Reduced carbon footprint: We constantly strive to reduce our carbon emissions by reducing our waste, conserving energy and using the most efficient processes available.
By choosing our products made from recycled materials, you are participating in this great green initiative. You will be using resources that help rather than harm the environment.
INSTALLATION PREP
Proper composite siding installation requires that you first gather some equipment, do some research and complete some tasks. Here are the things you need to do or keep in mind before installing composite siding:
- Research local codes: Before getting started on your siding installation, we highly recommend that you look into the building codes for your area to see if there are any restrictions or requirements for siding.
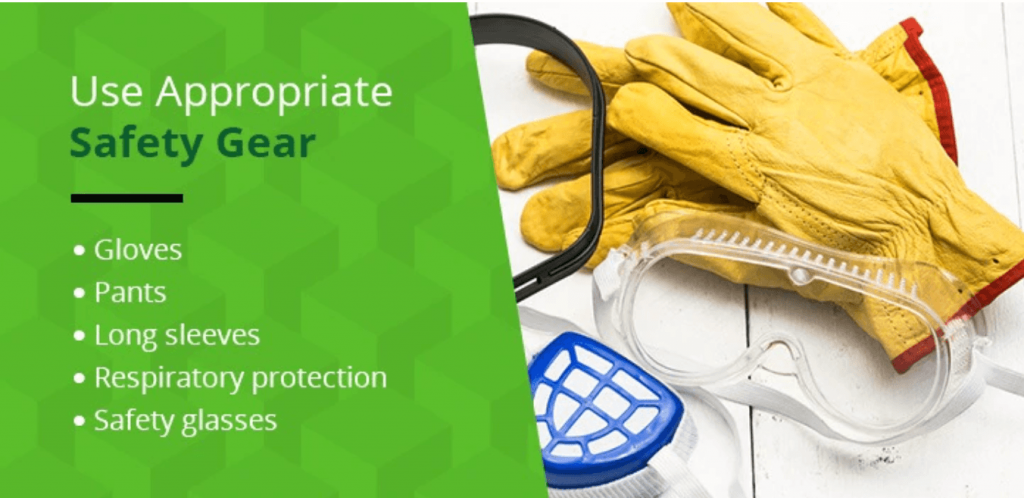
- Stay safe: As is true for any construction project, you must use appropriate safety gear to minimize the risk of getting injured. We recommend using gloves, pants, long sleeves, respiratory protection and safety glasses whenever you are cutting, handling or installing products by NewTechWood. This is not necessarily a comprehensive list.
- Use the proper tools: The standard tools for woodworking are suitable for this project, but we recommend using carbide-tipped blades for cutting. Additionally, using deck screws that are properly coated or regular stainless steel screws will lead to the best-looking results.
- Use a flat surface to store: To install our products, a strong, clean, flat and smooth surface is absolutely necessary. If you do not begin the installation right away, you should keep the product on a flat surface at all times. Never put the product on a non-flat surface under any circumstances.
- Plan out your layout: To ensure the siding you have is the best possible option for your project, draw up a site plan. In general, zoning and building codes apply to all permanent structures, which are defined as anything attached to your house or fixed to the ground. This means that practically every type of siding will require inspections and permits from the building department in your area. It is recommended that you create a site plan for your project and submit it to the building department before starting the installation.
Use the product as intended: NewTechWood’s UltraShield siding was not designed to bear loads, meaning it cannot be used as joist stringers, beams, columns, support posts or any other weight-supporting component. Only code-compliant structures may be used to support NewTechWood products. Although our products are excellent for retrofits, they cannot be installed on top of the existing siding. - Reduce static: In higher-altitude regions, where humidity levels tend to be lower, static is more prevalent. If you live at a high altitude, try to avoid using metal chairs, railings and other conductive objects near the siding, as this may cause more shocks to occur. One way to deal with static is to put down anti-static mats by the doorways.
Allow for proper ventilation: You cannot attach the siding directly to a flat surface. You must attach it to a substructure to allow for air flow that is completely unobstructed so not too much water is absorbed. There must be at least 1 inch of free area underneath the surface of the siding so air can circulate properly.
- Understand the effects of Low-E glass: Energy-efficient windows with low-emissivity (Low-E) glass are designed to reflect sunlight and may cause excessive heat build-up on the surface of our siding products. These energy-efficient windows were designed to minimize the heat gain in homes and buildings and can cause an unusually high amount of heat build-up on outside walls. This build-up of heat can cause melting, sagging, discoloring, warping and accelerated weathering of our products. If you have low-emissivity glass and are planning to install our products, speak with the glass manufacturer and ask if there are ways to reduce the damaging effects of sunlight reflection.
- Install fasteners at the correct angle. When you fasten NewTechWood products, face-fastened screws should be put in at exactly 90 degrees to the surface of the siding. Never toe-nail our products. If you are unable to drive a screw into the board at a 90-degree angle, you must add an additional joist. Fasteners should all be on independent joists, and where two board ends meet, you must install a sister joist. Each board end must have its own joist.
- Use only white chalk lines. Chalk any color other than white will cause permanent staining to our products, so we strongly discourage you from using them.
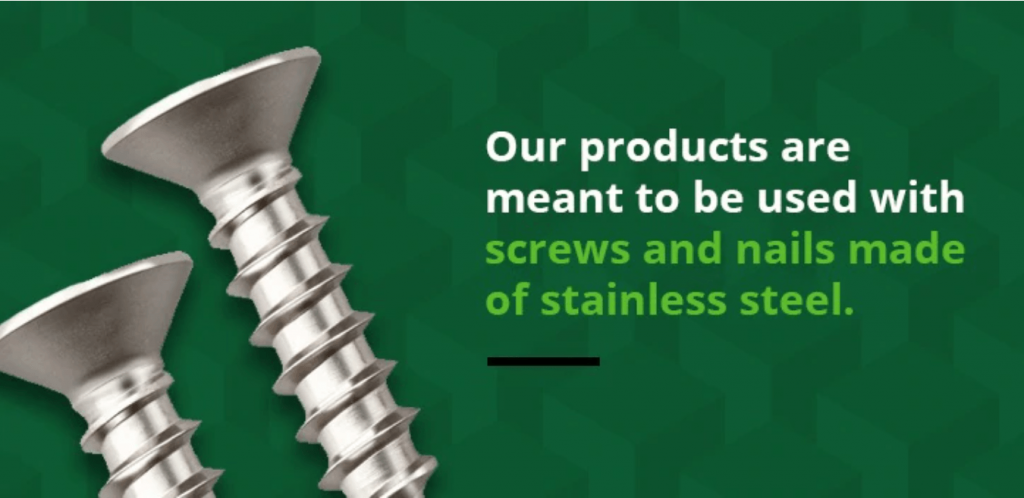
- Use only stainless steel screws and nails. Our products are meant to be used with screws and nails made of stainless steel. With some types of screws, mushrooming or bulging may occur when you face fix them. To deal with these bulges or mushrooms, we recommend that you pat them down using a rubber mallet, which will make your siding look better. When shopping for screws or nails, ask the hardware stores and home centers in your area if they sell screws specifically designed to be used with composite wood. They are guaranteed to work with our products and will lead to the best looking results. Screws or nails not recommended for use with composite siding may actually cause damage to the siding. If uncertain about what type of screw or nail you should use, reach out to us to find out more.
PARTS
The installation kit comes with many parts. We’ll explain what each one is for:
- AW02: This is the Starter Strip and is used for installing your first board.
- AW08: These are the installation clips used to fix the boards to the joists and is used at all joists.
- T-7: These are rubber stoppers and should be used for the final siding board. They serve as the final board’s place holder and keep it from slanting.
- US09: This is the standard option for the siding board. It is tongue-and-groove siding. Some alternatives, which must be special ordered, are US30 and US31.
- US44: Also called F trim, this is fascia to be used to finish off an open side.
- US45: Also called I trim, this is fascia to be used for where two boards meet.
- US46: This part is the Outer Corner Fascia and is for use on the outer corners.
- US47: This part is the Inner Corner Fascia and is for use on the inner corners.
The installation clips (AW08) are made of aluminum and serve to attach each board to the joists and allow air to circulate under the siding. They also allow for expansion and contraction of the boards and can be used to fix a board to a joist at a single point, which allows you to control the direction in which the board expands or contracts.
We recommend using the following screws to install your siding:
- M3 x 12 SS304: Use these screws for locking the boards and installing them into wood joists.
- M4 x 13 SS410: Use these when locking boards, installing on metal joists and when installing the Starter Clips.
- M4 x 80 SS304: These screws are used for installing the joists to the wall, although it depends on how thick your joists are.
TIPS FOR DURING CONSTRUCTION
As mentioned before, you can’t just install your siding on a flat surface — it must be installed on joists. This support structure is often called the “under construction.” Here are some tips for installing this structure:
- Use the right materials: We recommend you use pressure treated wood or aluminum joists.
- Get the spacing right: To install the siding boards, space the joists no farther apart than 1.64 feet to center.
- Add insulation and vapor barriers: The vapor barrier should be breathable and positioned behind the joists. This will allow proper airflow.
We recommend you consult a licensed professional before installing the under construction.
VALUES FOR EXPANSION AND CONTRACTION
As siding boards will expand and contract with temperature, it is essential to know how much of a gap to leave between the boards during installation. For example, if an 8-foot board is installed when it’s 14 degrees Fahrenheit outside, you should leave a gap of 4/16 inches between boards. If the temperature is 68 F, leave a 2/16-inch gap, and if the temperature is 86 F, leave a 1/16-inch gap. Consult the siding installation manual to see the full chart.
HOW TO INSTALL COMPOSITE SIDING
Now we will guide you through the process on how to install composite siding using NewTechWood’s Ultrashield siding. You should only proceed to this step once your under construction is finished.
To cover a variety of scenarios, we will use a wall with three sides for this tutorial — Side A, Side B, and Side C. Between Side A and Side B, there will be an outer corner, and between Side B and Side C, there will be an inner corner. Side A and B are both the same width as the siding boards that we provide, but Side C is twice the width of the boards, meaning that I Trim (US45) will be installed on that side.
We’ll start by working on the side in the middle, Side B. Here are the steps you need to follow:
- Install Inside Corner Trim. The first thing you should do is install the inside corner trim (US47) on the inner corner between Side B and C. To fasten these parts, first predrill and then insert the screws.
- Install the Starting Strip. Once the Inside Corner Trim has been installed, the next step will be to attach the starting strip (AW-02). At the base of the run, you will have to snap a chalk line while using a level to make sure the boards are level and straight during your installation. Each starter strip measures 39 and 3/8 inches (1 meter) in length. Install the starting strip by first pre-drilling into the AW-02 piece and then fastening it using screws.
- Install the first siding board. Once the starting strip is installed, you can begin the installation of the first run of the siding boards, which will be either Part US09, US30 or US31, depending on the board style you choose. With the lip down, place a siding board onto the Starting Strip.
- Install the clips. Place the AW-08 clips on the siding board and fasten them to the joists using screws. To allow for air to circulate and for the board to expand and contract, you must leave a gap no smaller than 25/64-inch between the board’s lip and the ground.
- Fix the board in a single location. While the AW-08 clips are designed to allow the boards to expand or contract, every board still needs to be fixed in one position. To fix a board at a certain position, the AW-08 contains a separate hole that can be used to fix it to the board.
- Continue installing the boards. Repeat steps 3 through 5 until you reach the top of Side B.
- Install top board. Once you’ve reached the top and are ready to complete the side, get the rubber stoppers (T-7) and install them at the tops of every stud or furring strip. Then put in the top siding board.
Now we’ll move to Side A:
- Install the Outside Corner Trim. Once you’ve installed all of your siding boards for the Side B, the next thing you should do is install the Outside Corner Trim (US46) on the outer corner between Side A and Side B. Attach it to the open side of the siding that you just installed. Then, fix the trim by attaching it to the outside corner’s opposite face.
- Install siding board for Side A. Now that the Outside Corner Trim is in place, you can start installing the siding for the Side A. You can do this by repeating steps 2 through 7 from Side B.
- Install the F trim. As there is an open end on the siding for Side A, it should be finished off using an F trim. Push the F trim into the siding’s open side and then fix it with screws from the other side.
Finally, we finish with Side C:
- Install siding board for Side C. Just like with Sides A and B, the first step for Side C is to attach a Starting Strip at the bottom as explained in step 2. Then, install the siding boards as is outlined in steps 3 through 7. Because Side C is wider than the length of the boards, these boards should be installed on the left half of the wall and then fixed to the Inside Corner Trim that you installed in step 1 for Side B
- Install the I Trim. Because Side C is twice the length of the siding, more siding boards will have to be installed to the right of the already installed boards. But first, I trim (US45) must be fixed to the open side of siding that was just installed. Once you’ve installed the I Trim, fix it to the joist with screws.
- Install more siding board for Side C. Following steps 2 through 7, install siding for the right half of Side C.
- Install the F trim. On the opened side of the siding you just installed, install the F trim and fix it to the joist with screws.
- Install the F trim on the top of the structure. Cut the F trim to match the lengths of each section of siding. Once they are cut, you might have to notch the ends of each segment so that they can fit around your joists. Then, fix face the segments to the tops of the joists.
When handling any NewTechWood products, we strongly encourage you to work with a licensed professional.
ORIENTATIONS
NewTechWood offers two orientations for its siding products:
- Vertical composite cladding: With vertical composite cladding, the boards run vertically on your home’s exterior. The vertical orientation of these boards can help to emphasize the height of your home. This tutorial uses these boards. The materials used in our NewTechWood’s composite cladding are similar to that used in its decking, so you can rest assured that it will be long-lasting and withstand the harsh elements.
- Horizontal composite cladding: Siding with boards that run horizontally is another option. Whereas vertical boards tend to create a tall appearance, these horizontal boards can help to make your home look broader. The boards’ width can also influence the appearance of your exterior.
STYLES AND COLORS
NewTechWood offers two styles of siding: the All-Weather System Siding and the European-style siding.
The All-Weather System Siding siding is available in the following colors:
- Peruvian Teak
- Roman Antique
- Spanish Walnut
- Westminster Gray
- Brazilian Ipe
- Hawaiian Charcoal
We also offer several colors for special order:
- California Redwood
- Floridian Orange
- Caribbean Blue
- Irish Green
- Swedish Red
- Indonesian Merabu
- Mahogany
- English Oak
- Australian Red Cedar
The European-style siding uses the Norwegian boards with more grooves. The European style is readily available in Peruvian Teak and Roman Antique, but can also be special ordered in the following colors:
- English Oak
- Swedish Red
- California Redwood
- Spanish Walnut
- Indonesian Merabu
- Brazilian Ipe
- Australian Red Cedar
- Mahogany
- Westminster Gray
We are always adding new colors, so make sure to check our site regularly. Manufacturing and delivering the special order boards takes roughly 16 weeks, and you must order at least 2,400 linear feet of board.
OUR SIDING IS PERFECT FOR SMART HOMES
If you own or are planning to build a smart house, our UltraShield siding is an excellent choice.
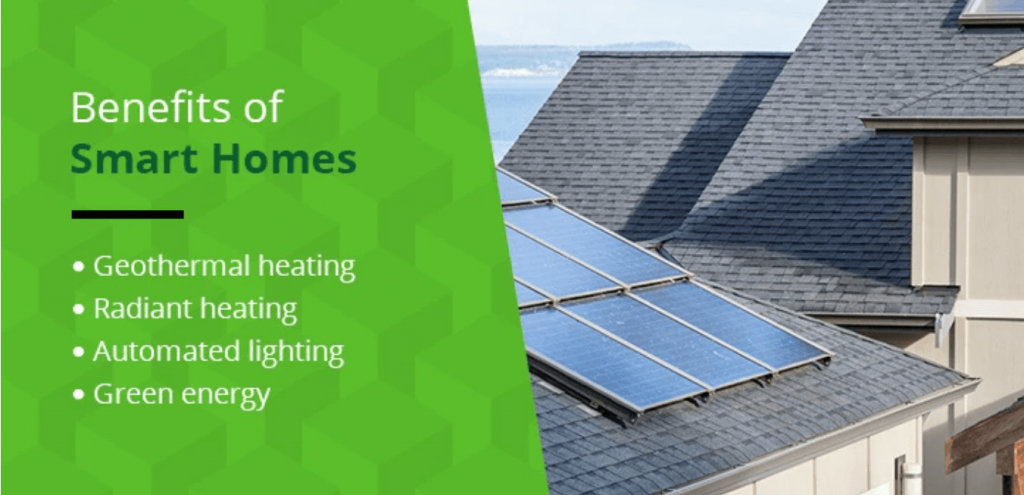
Smart houses are defined as homes that provide its inhabitants with security, comfort, convenience and energy efficiency using cutting-edge materials and technology. Smart homes commonly provide the following benefits:
- Geothermal heating: Deep core thermal systems gather energy from the ground to provide heating and cooling.
- Radiant heating: Radiant heating, which heats homes by warming mass instead of air, is an economical way to stay comfortable on exceptionally hot or cold days.
- Automated lighting: Smart homes often feature lights that turn on and off as you enter and exit rooms.
- Green energy: Green homes are often solar- or wind-powered and reduce cooling costs by using the shade of trees. They also tend to have doors, windows and siding that keep the inside comfortable regardless of the weather outside.
While the upfront costs for smart homes are often higher, smart homeowners can quickly recover the costs with lower energy bills. However, to enjoy lower energy bills, they must have good siding. The extra costs of energy efficient heating and cooling will not make much sense if that heat or cool can easily escape through the walls.
For this reason, high-quality composite siding is an essential component of any smart home. When shopping for siding for your home, there are many options available, including aluminum, vinyl and shake cedar. But most of these options are inferior to composite siding:
- Clapboard requires lots of upkeep. Although popular in many parts of the country, the maintenance required to keep it looking attractive and clean is time-consuming.
- Wood requires upkeep and can be easily damaged. You have to regularly seal and stain wood siding to maintain its attractiveness and keep it free of mold and mildew. It is also susceptible to moisture and insects if not properly maintained.
- Stucco is expensive and susceptible to damage. Stucco is not just a costly material, but it’s also expensive to maintain. What’s more, if it is not installed correctly, moisture damage can occur. Shifting or settling of the house can also lead to the stucco cracking.
- Brick and stone are costly and hard to install. Genuine brick and stone are pricey, and as they age, loose mortar can occur, which is expensive to fix. Installing these materials are also not DIY projects, and problems with trapped moisture can occur if the installation is not done correctly.
- Faux stone can be easily damaged. Unless it’s high-end faux stone, it will be very susceptible to scratching. Repeated freezing and thawing can also lead to cracking, and chemicals like herbicides, chlorine and paint thinner can easily stain faux stone. Poor installation can also lead to moisture and drainage issues.
- Vinyl and aluminum can look cheap. Although popular, these materials don’t look natural, even from a distance. And while easy to maintain, they get easily dented. And if the aluminum or vinyl is not high-quality, it won’t do much to protect you from the cold.
NewTechWood’s siding is a perfect fit for any smart home. It’s lightweight, simple to install, durable, requires little maintenance and allows your house to breathe by circulating cool or warm air inside.
VISIT NEWTECHWOOD TODAY
NewTechWood has been a leader in composite siding, decking and railings ever since our beginnings in 2004. We have gained a reputation worldwide for making cutting-edge, beautiful and reliable products.
We attribute our success in part to our business philosophy — we are dedicated to listening closely to architects, homebuilders, homeowners and contractors and do our best to carry out their requests and realize their visions. As our products come in a wide range of patterns and colors, we believe we can always find a look that works perfectly for every project.
In addition to siding, we offer various other products to enhance your outdoor living experience, including: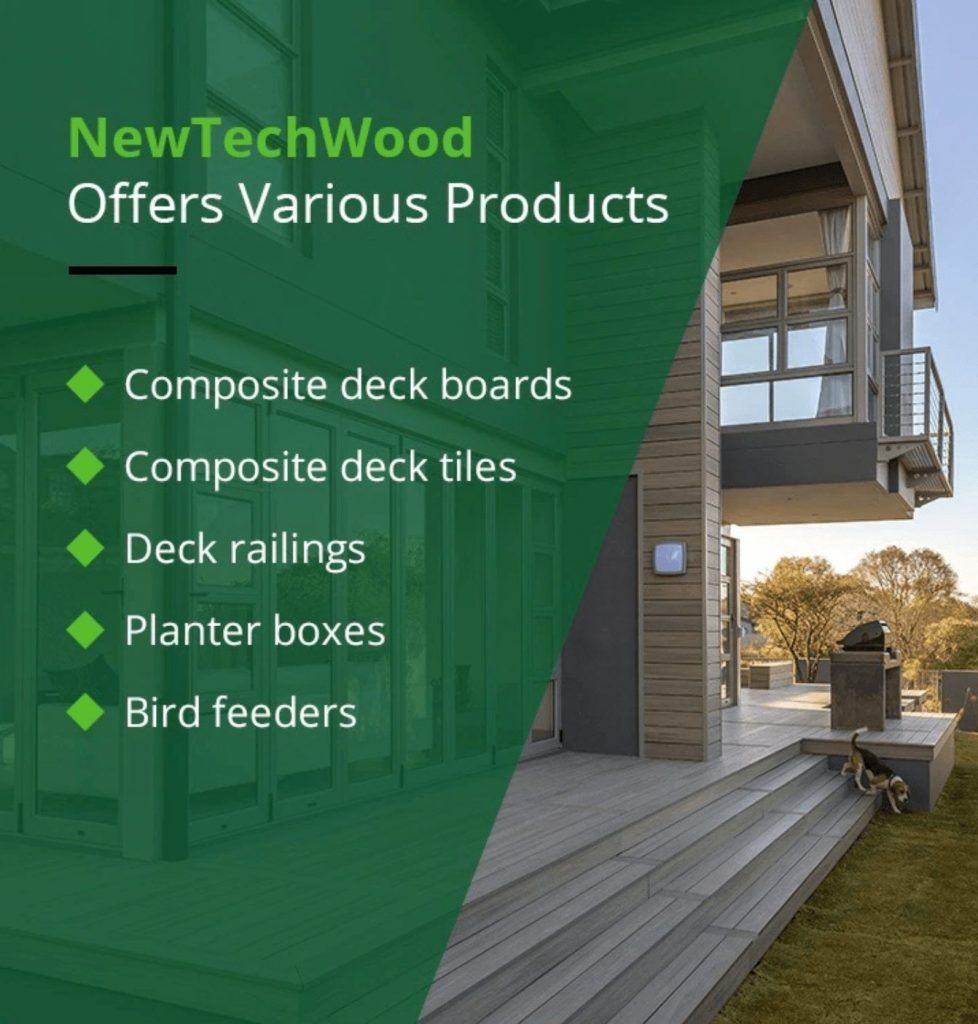
- Composite deck boards: Our composite deck boards are also made with recycled materials and are great for both homes and commercial buildings. They come in many colors and patterns and are extremely durable, meaning you’ll enjoy your decking for many years.
- Composite deck tiles: Our deck tiles are manufactured using natural wood grains and are 100 percent eco-friendly. Installation is easy and all you have to do is snap the tiles together. The tiles can interlock four ways, meaning that you can orient them however you wish. The tiles also feature a grid underneath, which keeps them off the ground below, allowing for proper drainage. Deck tiles are a great option for anyone who would rather take on a quick, simple DIY project than pay a professional to build their deck. Various tile colors and trim options are available.
- Deck railings: Our composite railing is sleek and modern, thanks in part to the aluminum and composite it’s made from. Just like our decking, the railings feature UltraShield technology, which means they require virtually no maintenance and will look beautiful for many years. We designed our railings to match our decking perfectly, which means that your decking and railings, if installed correctly, will look like one seamless piece.
- Planter boxes: Like all our other products, our planter boxes are also made of recycled materials. To put these together, no fasteners or tools are needed, meaning that anyone in the family can help build them. They’re stackable and their use is extremely flexible — you could fill one with sand and use it as a sandbox or put in some soil and some grow flowers or larger plants.
- Bird feeders: Help feed our avian friends with our attractive bird feeders, which, together with our planter boxes, can really turn your backyard into an inviting retreat. We offer four different types of feeders — composite bird house feeder complete with a window and door for privacy, a composite suet feeder, a composite squirrel feeder, and a composite bird feeder that provides space for multiple birds to perch and enjoy some food together.
If you’re interested in finding out more about our products or have any questions, we’d love to speak with you! You can call us at 281-570-6450 or use our online contact form. And if you’ve decided to go ahead with an outdoor renovation, you can find a nearby distributor that sells NewTechWood products. We look forward to hearing from you!


